
Homemade Yogurt
Delicious and nutritious, homemade yogurt beats store-bought any day! Who doesn’t love yogurt? It’s popular with both adults and kids, but it can also get expensive. There’s no reason to pay those high prices when you can easily make yogurt at home for just pennies. Not only is it extremely easy, but you are in complete control over the ingredients, especially how much added sugar you put in your yogurt. Homemade yogurt is also good for you and it’s actually quite fun to make. You don’t even need any type of special equipment!
Ingredients:
- milk
- dried milk
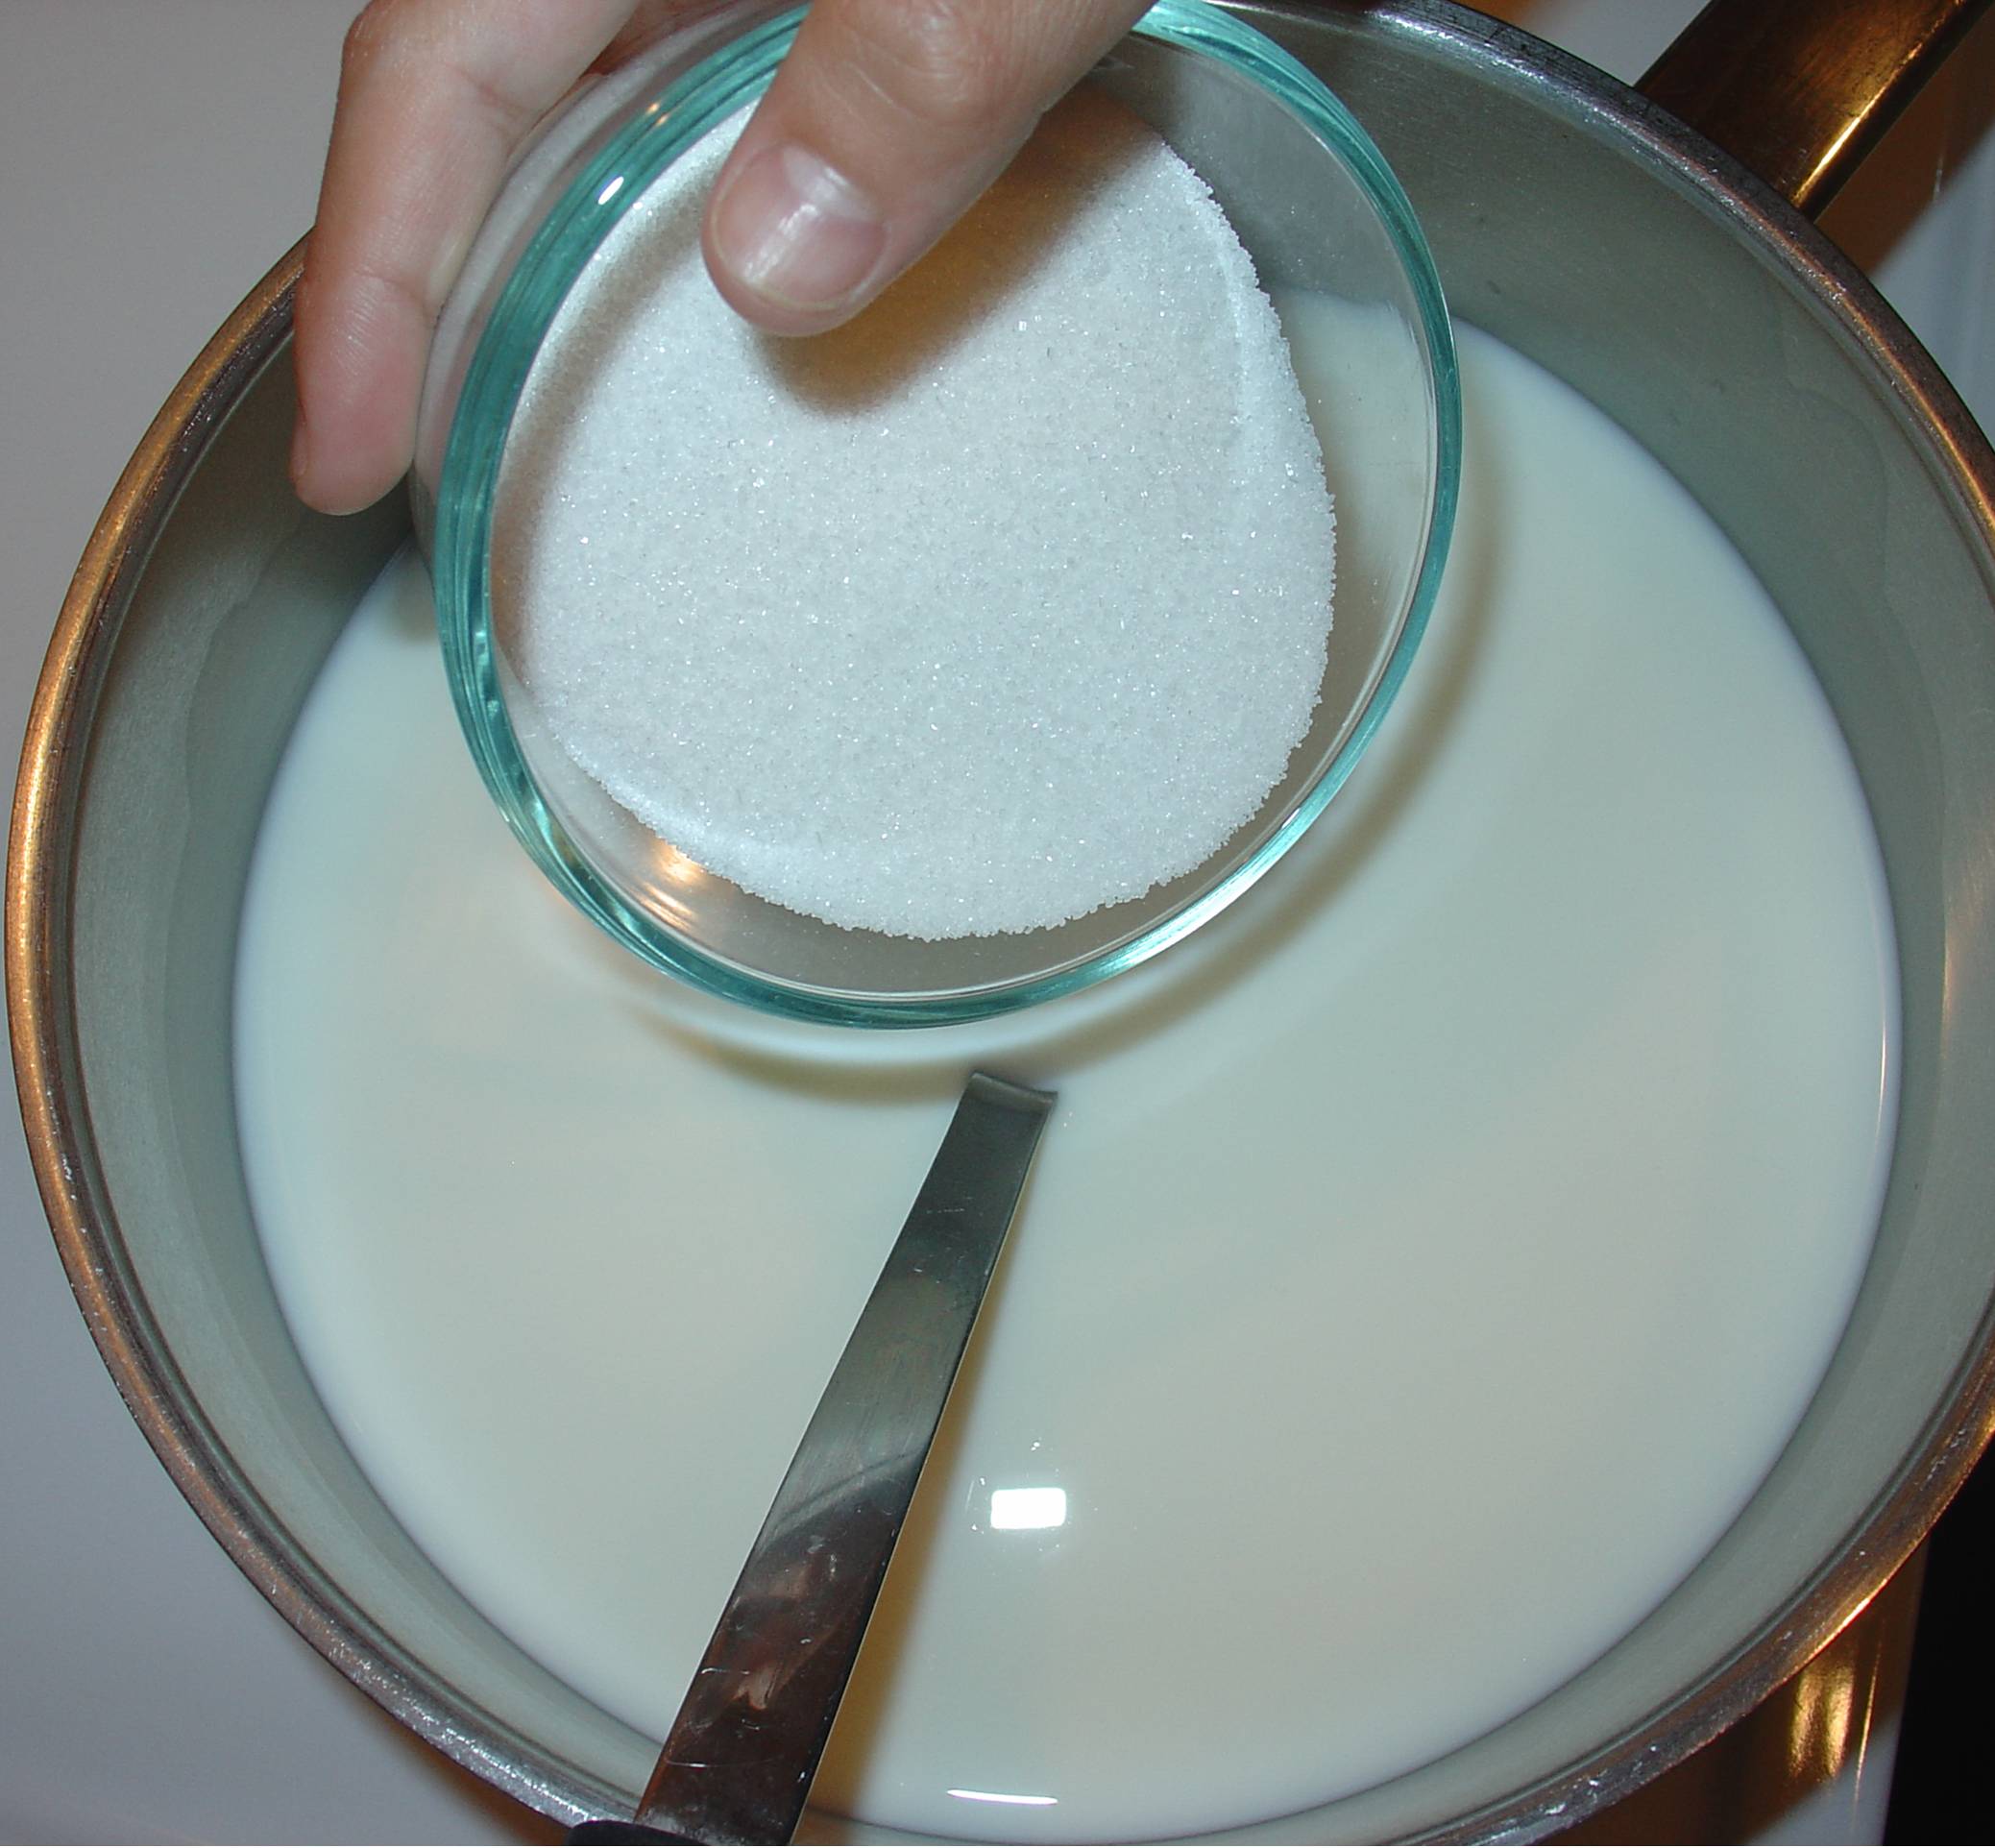
- sugar
- honey
- plain yogurt with active cultures, or a yogurt starter *
- vanilla extract
* (once you have made a batch of your own yogurt, you can then use that for your starter – it should be plain, unsweetened yogurt)
Directions:
You can use just about any type of milk you choose, 1%, 2%, or whole milk work fine; however, skim milk or no-fat milk does not produce very good results. You can even use soy milk, almond milk, rice milk, or any combination you choose. We prefer to use organic 2% milk, but experiment to find what works best for you and what your family prefers.
For each quart of milk, stir in 1/2 cup of powdered or dried milk. This adds an extra creaminess as well as additional nutrients to your yogurt.
For each quart of milk used, add 1/3 cup sugar and about 2 Tbsp of honey, basically sweeten to taste.
Warm the milk mixture over medium heat until it reaches 180° F to 185° F. Stir frequently to ensure it doesn’t scorch or stick to the bottom of the pan. Do NOT let it come to a boil.
Remove from heat and let the mixture sit until the temperature drops to 110° F.
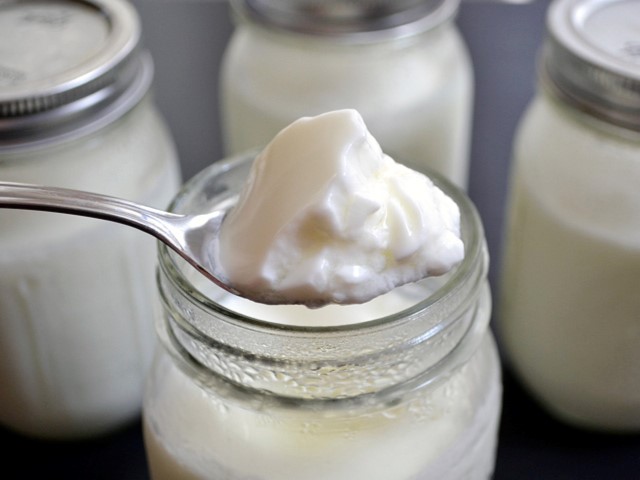
Whisk in 2 Tbsp plain yogurt and 1 Tbsp pure vanilla extract for every quart of milk used. Be sure to whisk until the yogurt is thoroughly combined into the milk mixture and there are no lumps; it should be very smooth.
Pour into sterilized jars**; cover and place in a warm spot to maintain temperature between 105° F and 110° F.
Keep checking to make sure that the temperature remains within this range, but do not move the jars of yogurt too much. Simply insert an instant read thermometer and adjust temperature if necessary. After about 8 to 10 hours your yogurt should be thick. Place the jars in the refrigerator for several hours to chill; this will also stop the culturing process.

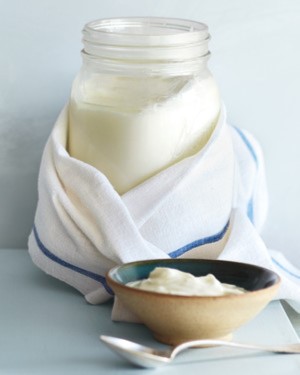
Keep the Culture Warm
There are a number of different ways you can keep your yogurt at the appropriate temperature; experiment to see which method works best for you. We like to use a cooler with a microwavable heating pad. You can also put your yogurt jars in an oven that is set at the lowest temperature; however, you’ll need to watch it very carefully to ensure it doesn’t get too warm. If the yogurt gets too warm the live cultures will be killed and the yogurt will not culture properly. An electric heating pad and box will also work; and, if the room is warm, wrapping the jars in towels may be enough to retain their heat. Be creative to come up with a way to keep your yogurt culture warm.
Notes:
Always use a good quality pure vanilla extract. The flavor of the vanilla will be evident in the finished product, so don’t skimp on this ingredient.
Variations:
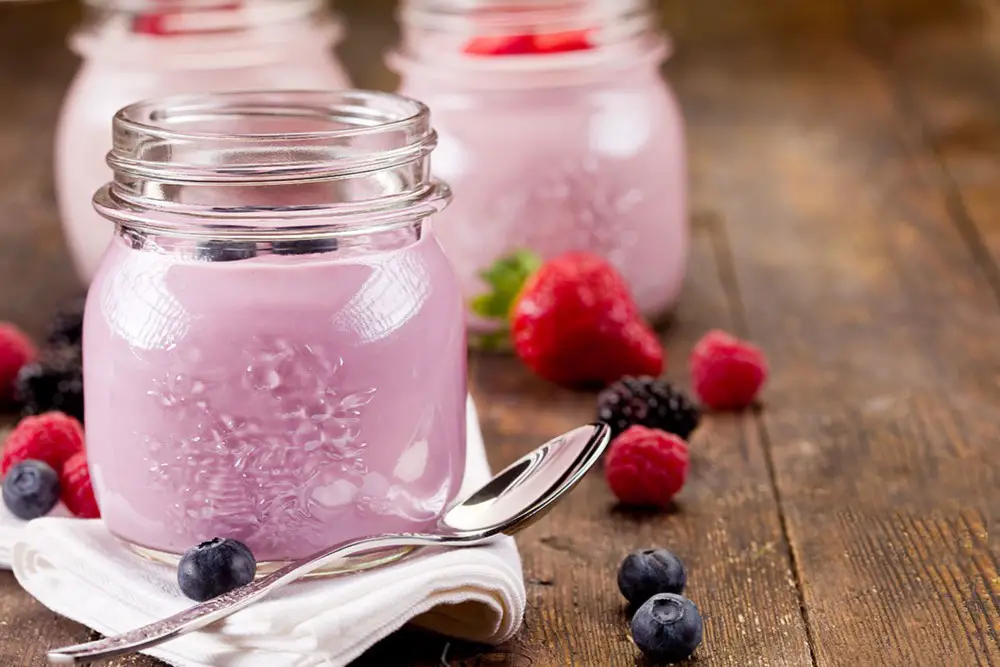
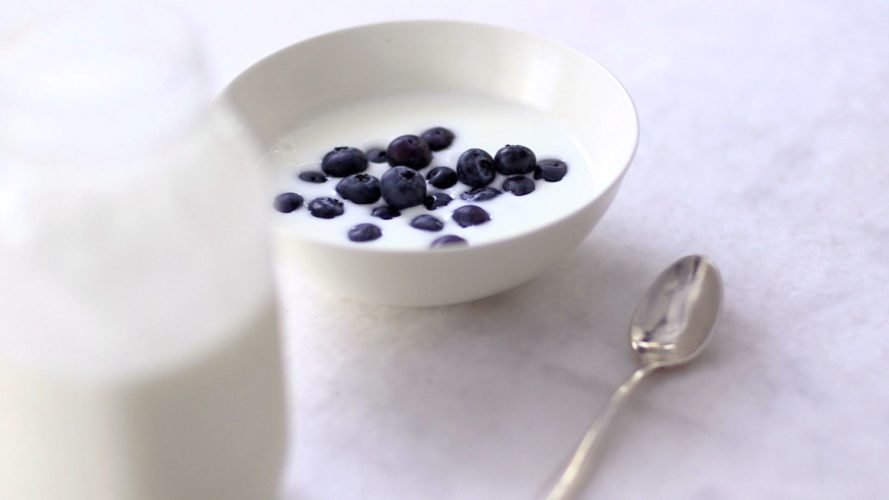
If you prefer to make plain, unsweetened yogurt, simply eliminate the sugar, honey, and vanilla. We typically make both sweetened vanilla and plain when we’re making homemade yogurt.
Preparation time: 30 minute(s)
Process time: 8 to 10 hours
5 : ★★★★★ 235 review(s)
How to Make Yogurt at Home
**It is extremely important that all of your supplies are squeaky clean. Sterilize your yogurt jars by washing them in hot soapy water, rinse thoroughly, then place in the microwave for 2 minutes. Lids can be sterilized in the same way; however, if you are using metal lids, simmer them on the stove for 2 minutes. Jars that have been sterilized in the microwave should never be used for canning; they could crack.

We usually make both vanilla and plain yogurt, so we mark our jars with stickers to make them easy to identify.


Cool to 110° F, then add the yogurt culture

Always use the best quality ingredients you can find. Pure vanilla extract from a reputable brand makes a big difference in the taste of your finished yogurt.


It’s important to keep the temperature between 105° F and 110° F. We use a cooler lined with towels and a microwaveable heating pad. Every few hours we check the temperature and warm the heating pad if necessary.